Documenting Your Gas Sign Restoration Project
Restoring vintage gas station signs is a rewarding, albeit often challenging, endeavor. It’s a labor of love that connects us to a bygone era of roadside Americana. But beyond the satisfaction of breathing new life into a piece of history, there's a crucial step that many restorers often overlook: documentation. This article explores why meticulously documenting your gas sign restoration project is vital – not just for your own reference, but also for potential insurance claims and sharing your expertise with fellow enthusiasts.
Why Document Your Restoration?
Think of documentation as the roadmap of your restoration journey. It's more than just taking a few pictures at the beginning and end. It’s a detailed record of every step, decision, and challenge you encounter. Here's a breakdown of the key reasons why documenting your work is essential:
- Record-Keeping for Yourself: Memory fades. Years from now, you might struggle to remember the exact cleaning solution you used, the techniques you employed, or why you made a specific choice during the restoration process. Detailed records act as a valuable guide, allowing you to replicate successful methods in the future or troubleshoot any unexpected issues.
- Insurance Protection: Restoring vintage gas signs can be a significant investment, both in terms of time and money. If something goes wrong – damage during the process, theft, or even accidental destruction – having thorough documentation can be invaluable when filing an insurance claim. A detailed record of the sign’s condition before restoration, along with evidence of the work performed and materials used, strengthens your claim.
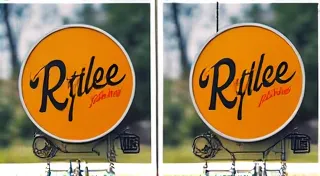
- Authenticity & Provenance: Detailed documentation supports the sign’s history and authenticity. It demonstrates the care and expertise put into the restoration, which can increase its value and desirability to collectors. Notes about any research you conduct on the sign's original branding, location, or production period further enhance its provenance.
- Sharing Your Expertise and Inspiring Others: Many restorers find great joy in sharing their knowledge and experiences with others. A well-documented project provides a perfect foundation for blog posts, videos, or presentations, helping to educate and inspire fellow enthusiasts.
What to Document – A Step-by-Step Guide
Effective documentation goes beyond a few casual snapshots. It requires a structured approach. Here's a comprehensive list of what you should document throughout your gas sign restoration project:
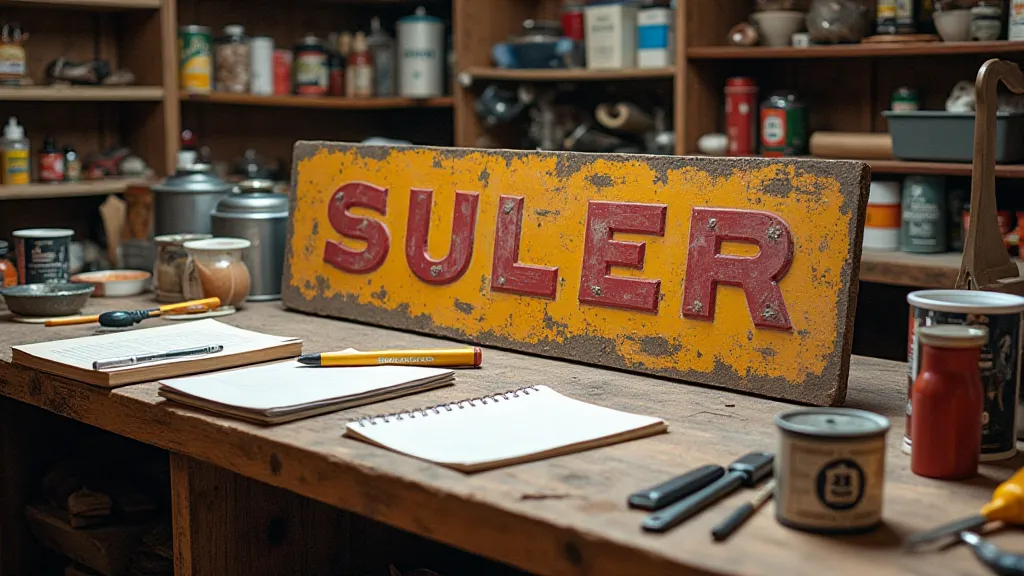
1. Initial Assessment & Condition Report
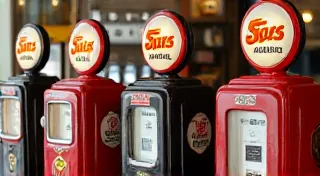
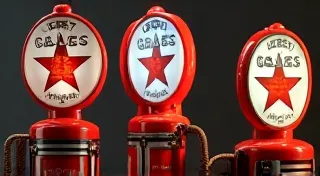
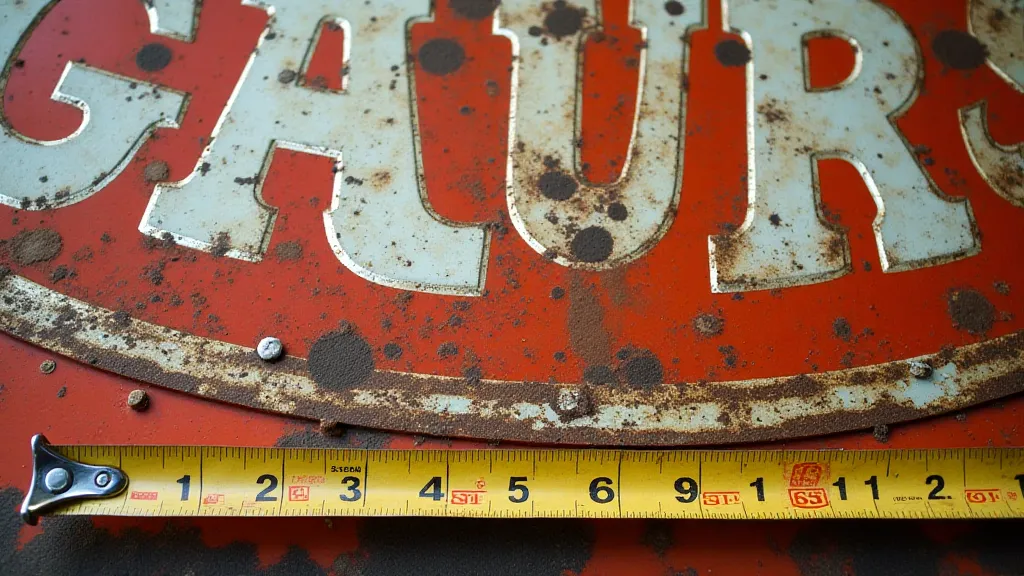
- Photographs: Take numerous, high-resolution photographs of the sign from all angles. Document *everything* – cracks, rust, paint loss, damage, and any existing repairs. Use a ruler or measuring tape in some photos to provide scale.
- Written Condition Report: Create a detailed written description of the sign's condition. Note all visible defects, including the type of damage, its location, and its severity. Record any identifying marks or information – manufacturer’s name, logo, date codes, etc.
- Measurements: Record the sign's dimensions accurately.
- Materials Inventory: Note any materials still present on the sign – original paint layers, lettering, graphics.
2. Cleaning and Surface Preparation
- Cleaning Solutions & Techniques: Meticulously record all cleaning agents used (brand names, concentrations) and the methods employed (pressure washing, scrubbing, chemical stripping). Note the duration of exposure and any precautions taken.
- Surface Preparation Methods: Document any sanding, grinding, or other surface preparation techniques used. Specify the grit of sandpaper used, the tools used, and the duration of the process.
- Photographs: Document the condition of the sign after each stage of cleaning and preparation.
3. Repair and Stabilization
- Repair Methods: If repairs are needed (e.g., patching holes, reinforcing metal), detail the materials and techniques used. For example, specify the type of filler, welding process, or patching compound.
- Materials Used: List all repair materials used, including brand names and specifications.
- Photographs: Document each repair stage.
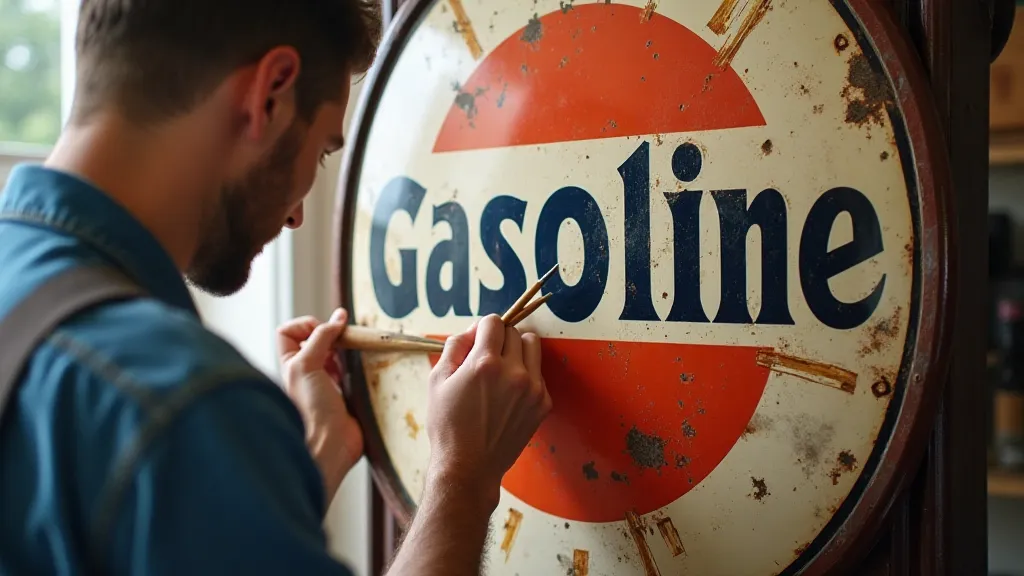
4. Painting and Signage
- Paint Selection: Record the exact paint colors, brands, and types used (e.g., enamel, acrylic). Note any custom mixing formulas.
- Application Techniques: Document the painting process – number of coats, drying times, application methods (brush, spray).
- Lettering and Graphics Restoration: If lettering or graphics need restoration or reproduction, detail the techniques used (e.g., hand painting, screen printing, vinyl application).
- Photographs: Document the painting and lettering process at each stage.
5. Final Touches and Sealing
- Sealing Agents: If a sealant or protective coating is applied, record the brand, type, and application method.
- Final Inspection: Document the overall appearance of the restored sign, noting any remaining imperfections or areas for improvement.
Documentation Tools & Methods
You don't need fancy equipment to effectively document your gas sign restoration project. Here are some simple tools and methods:
- Digital Camera or Smartphone: A high-resolution camera is essential for capturing detailed images.
- Notebook and Pen: A physical notebook provides a convenient way to jot down notes and observations.
- Spreadsheet Software: A spreadsheet (like Microsoft Excel or Google Sheets) can be used to organize materials lists, measurements, and cost estimates.
- Cloud Storage: Back up your photos and documents to a cloud storage service (like Google Drive or Dropbox) to prevent data loss.
- Video Recording: Consider recording short videos of key stages of the restoration process.
Conclusion
Documenting your vintage gas sign restoration project is an invaluable investment – for your own records, for insurance purposes, and for sharing your expertise. By following the steps outlined in this article, you can create a comprehensive record of your restoration journey, preserving a piece of history and contributing to the vibrant community of vintage gas sign enthusiasts.