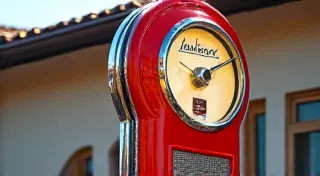
Dealing with Lead Paint on Vintage Gas Signs: Safety Precautions
Restoring vintage gas station signs is a rewarding hobby, connecting us to a bygone era of classic Americana. However, the beauty and charm of these antique signs often come with a significant hazard: lead paint. Widespread use of lead-based paints occurred until 1978 in the US and later in other countries, meaning nearly every vintage gas sign you encounter will be coated in it. Understanding the risks of lead paint and implementing rigorous safety precautions is absolutely paramount when embarking on a restoration project.
The Risks of Lead Exposure
Lead is a neurotoxin, meaning it’s poisonous to the nervous system. Exposure, especially for children and pregnant women, can have devastating and irreversible health consequences. Even adults can suffer from lead poisoning over time. Here's a breakdown of potential health risks:
- Neurological Damage: Lead affects brain development, leading to learning disabilities, behavioral problems, and lowered IQ in children. In adults, it can cause headaches, memory loss, and nerve disorders.
- Kidney Problems: Lead can damage the kidneys, impairing their ability to filter waste.
- Reproductive Issues: Lead exposure can negatively impact fertility in both men and women.
- Cardiovascular Problems: Studies have linked lead exposure to increased blood pressure and heart disease.
- Anemia: Lead can interfere with the body’s ability to produce red blood cells.
It’s crucial to remember that lead dust and fumes are the primary routes of exposure. Even seemingly "sealed" paint can release lead particles when disturbed during cleaning, sanding, or other restoration processes.
Identifying Lead Paint
While laboratory testing is the most accurate way to confirm lead paint, here are some indicators that suggest its presence. Keep in mind that these are not definitive proof, but should trigger heightened caution and further investigation:
- Age of the Sign: Signs manufactured before 1978 are highly likely to contain lead paint.
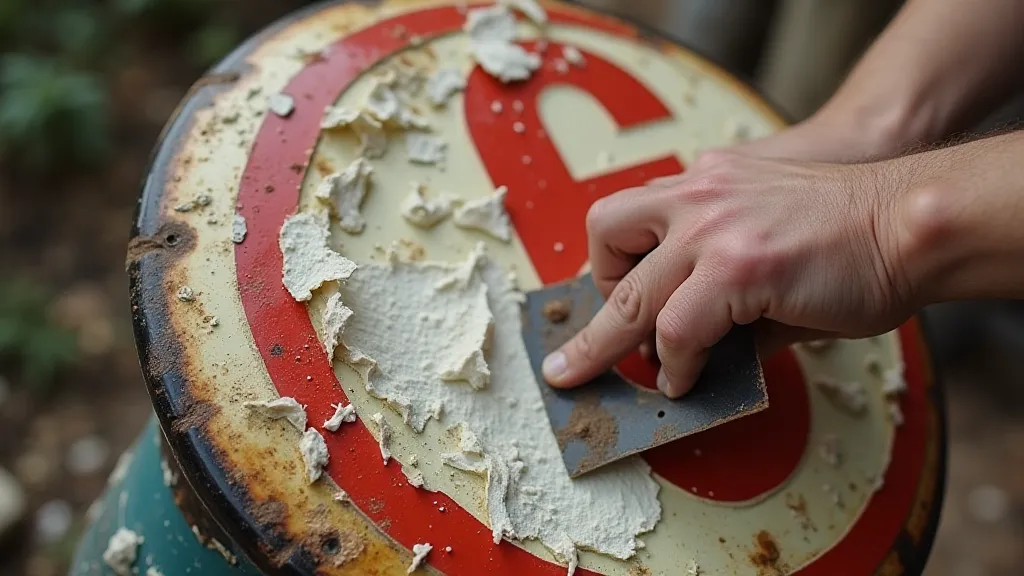
- Appearance: Older paints often have a characteristic "chalky" appearance. Look for signs of cracking, peeling, or blistering – these areas are prime sources of lead dust.
- Color: While not always indicative, bright colors like red, yellow, and orange were often formulated with lead pigments.
Crucially, do not assume a sign is lead-free based on its appearance. Professional lead testing is the gold standard and is highly recommended for all vintage signs before starting any restoration work.
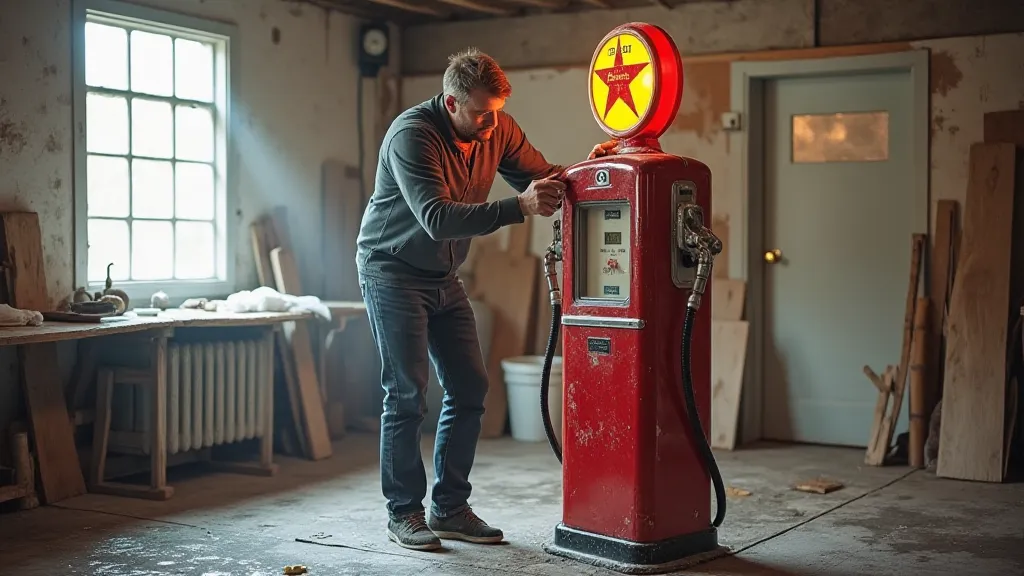
Essential Safety Precautions: A Step-by-Step Guide
The following precautions outline a layered approach to safety. None of these steps should be skipped, and additional measures may be needed depending on the size and condition of the sign.
1. Personal Protective Equipment (PPE)
Proper PPE is your first line of defense. At a minimum, you’re going to need:
- Respirator: A properly fitted NIOSH-approved respirator with P100 filters is essential. A simple dust mask is *not* sufficient. Get a fit test to ensure a tight seal.
- Protective Clothing: Disposable coveralls (Tyvek suits) will prevent contamination of your personal clothing.
- Gloves: Heavy-duty disposable gloves (nitrile or latex) will protect your skin.
- Eye Protection: Goggles or a full-face shield will protect your eyes from lead dust.
- Foot Protection: Disposable boot covers will prevent tracking lead dust throughout your home or workshop.
Important: Do not reuse any PPE. Dispose of it properly after each use.

2. Containment and Ventilation
Creating a controlled work environment is vital to minimize lead dust dispersal.
- Dedicated Workspace: Ideally, work outdoors or in a well-ventilated area specifically designated for lead paint projects.
- Plastic Sheeting: Cover the floor, walls, and any nearby furniture with heavy-duty plastic sheeting. Tape the edges securely.
- Air Filtration: Use a HEPA (High-Efficiency Particulate Air) filter equipped air purifier to capture airborne lead dust. Place the purifier as close to the work area as possible.
3. Work Practices
How you handle the sign significantly impacts lead exposure risk.
- Wet Methods: Whenever possible, use wet cleaning and sanding techniques. This minimizes dust generation. Use a spray bottle to keep the surface damp.
- Minimize Sanding: Sanding is a major source of lead dust. Consider alternative cleaning methods like chemical stripping, although this comes with its own set of safety considerations. If sanding is unavoidable, use a low-speed orbital sander rather than a high-speed rotary tool.
- Vacuuming: Use a HEPA-filtered vacuum to clean up dust and debris. Do not use a standard shop vacuum, as it will release lead dust back into the air.
- Avoid Sweeping or Blowing: These actions will simply stir up lead dust.
4. Waste Disposal
Lead-contaminated waste (dust, debris, disposable PPE) must be handled and disposed of properly. Follow local regulations for hazardous waste disposal. Double-bag all waste in heavy-duty plastic bags, seal them tightly, and label them clearly as “Lead Contaminated Waste.”
5. Post-Restoration Cleaning & Monitoring
After completing the restoration, thoroughly clean the work area. Vacuum all surfaces with a HEPA-filtered vacuum. Wipe down surfaces with a wet cloth and a phosphate-based detergent. Consider having the work area tested for residual lead dust to ensure proper remediation.
6. Professional Assistance
For large or severely deteriorated signs, or if you are uncomfortable with any aspect of the restoration process, consider hiring a professional lead abatement contractor. They have the expertise and equipment to safely handle lead paint hazards.
Disclaimer
This article provides general guidance on dealing with lead paint on vintage gas signs. It is not a substitute for professional advice. Always consult with qualified professionals and follow all applicable local, state, and federal regulations regarding lead paint remediation.