Tools & Supplies for Restoring Vintage Gas Station Signs
Restoring vintage gas station signs is a rewarding hobby, connecting you to a piece of history while preserving these iconic pieces of Americana. However, successful restoration requires more than just enthusiasm. It demands the right tools and supplies. This guide breaks down the essential equipment needed to tackle a gas sign restoration project, from cleaning and repair to repainting and sealing. We’re covering everything from basic necessities to more specialized items, ensuring you're well-equipped for the job, regardless of the sign's condition.
Safety First: Protective Gear
Before even touching a gas sign, prioritizing safety is paramount. Many vintage signs contain lead paint, and restoration processes often involve potentially harmful chemicals. Here's your essential safety gear:
- Respirator: A properly fitted respirator with appropriate filters (organic vapor/particulate) is non-negotiable when dealing with old paint and solvents.
- Safety Glasses/Goggles: Protect your eyes from dust, debris, and chemical splashes.
- Gloves: Heavy-duty nitrile gloves are crucial. Avoid latex, as solvents can degrade them quickly.
- Coveralls/Work Clothes: Protect your clothing from paint, chemicals, and grime.
- Hearing Protection: Power tools can be loud; earplugs or earmuffs are essential.

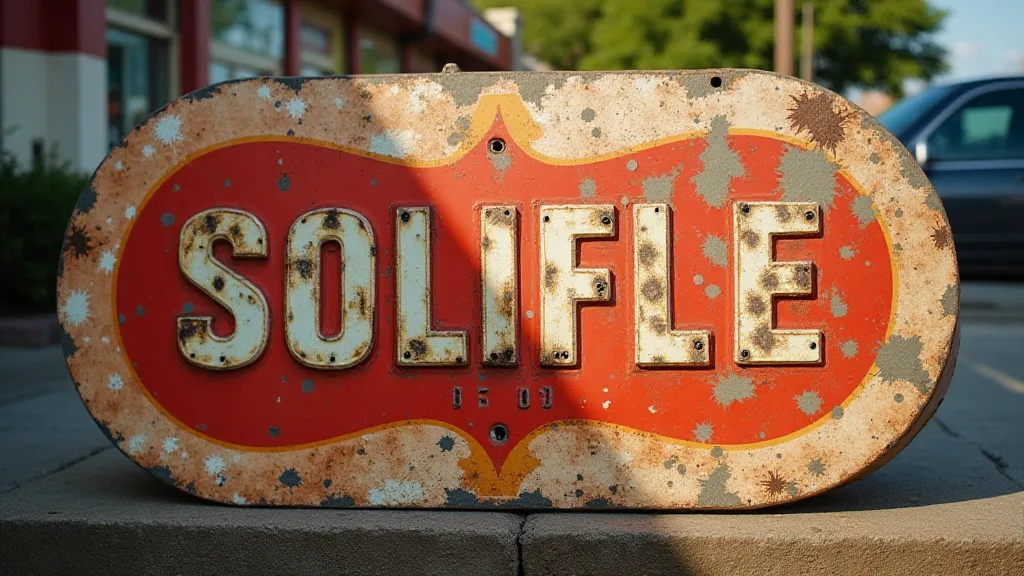
Cleaning and Surface Preparation – The Foundation of a Good Restoration
The initial cleaning process is vital. It removes years of dirt, grime, rust, and old paint, revealing the sign's original condition and allowing for accurate repairs. Here’s what you'll need:
- Pressure Washer (Optional but Recommended): A pressure washer with adjustable pressure can quickly remove loose debris. Use caution and a wide nozzle to avoid damaging the sign.
- Buckets: For mixing cleaning solutions.
- Various Brushes: From stiff-bristled scrub brushes to smaller detail brushes.
- Plastic Scrapers: To gently remove stubborn dirt and loose paint. Avoid metal scrapers, as they can scratch the surface.
- Degreaser: A strong degreaser is essential for removing oil and grease.
- Mild Soap & Water: For general cleaning.
- Rust Remover: Phosphoric acid-based rust removers are effective for treating rust. Follow manufacturer's instructions carefully.
- Solvent (Mineral Spirits or Acetone): For removing stubborn grease, paint residues, and decals. Use in a well-ventilated area.
- Sandpaper (Various Grits): From coarse (80 grit) to fine (400 grit). Needed for surface smoothing and rust removal.
- Sanding Block/Hand Pad: To ensure even sanding and prevent gouging.
- Wire Brush: For removing loose rust and scale.
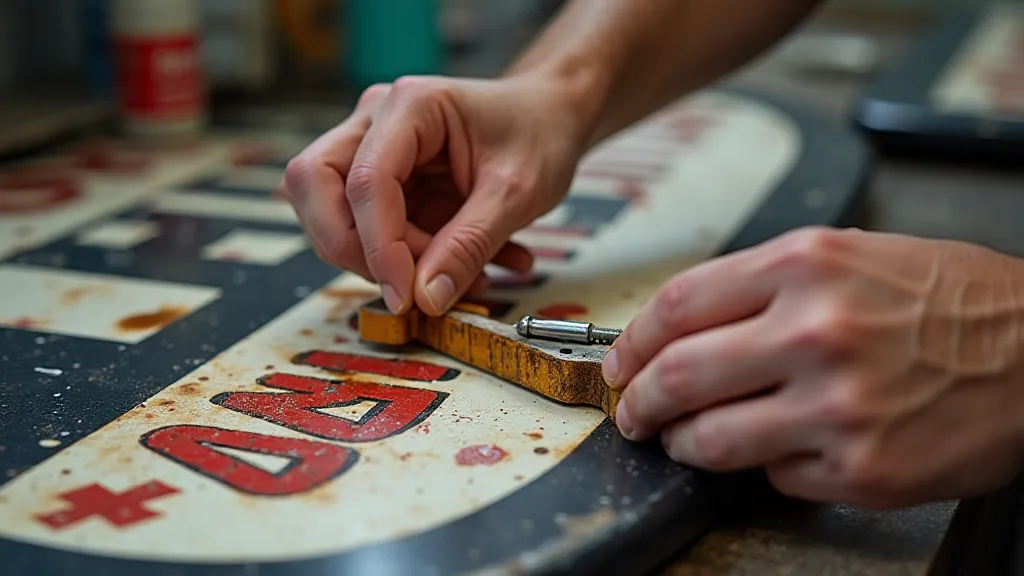
Repairing Damage – Putting the Sign Back Together
Gas signs often suffer from dents, cracks, holes, and missing sections. Repairing these requires specialized tools and materials:
- Metal Filler: For filling dents and holes. Choose a filler compatible with the sign's metal type (steel, aluminum, etc.).
- Body Putty/Bondo: Another option for filling larger imperfections.
- Welder (Optional): For repairing severely damaged areas or reattaching detached sections. Requires experience and proper safety precautions.
- TIG/MIG Welder (Alternative to standard welder): Offers greater control and precision.
- Clamps: For holding pieces in place during repairs and bonding.
- Epoxy/Metal Adhesive: For bonding broken pieces.
- Pop Rivets & Rivet Gun: Useful for reattaching small pieces or reinforcing weak areas.
- Small Screwdrivers & Pliers: For manipulating and positioning small parts.
Repainting & Finishing – Bringing Back the Original Look
The repainting stage is crucial for restoring the sign’s visual appeal. Accurate color matching is paramount to maintain authenticity.
- Color Matching System: Crucially important. This allows you to identify the original paint colors and match them precisely. (e.g., using a spectrophotometer).
- Primer: A metal primer is essential for ensuring good paint adhesion and preventing rust.
- Automotive Paint: Most gas signs used automotive enamel paint. Acrylic lacquer is an alternative.
- Spray Gun (HVLP): For applying even coats of primer and paint. HVLP (High Volume Low Pressure) guns minimize overspray.
- Air Compressor: To power the spray gun.
- Paint Brushes (Various Sizes): For detail work and touch-ups.
- Masking Tape & Paper: To protect areas not being painted.
- Stencils (Optional): If the sign has intricate lettering or graphics.
- Clear Coat: To protect the paint and add shine. Choose a clear coat compatible with the paint type.
Sealing and Protection – Long-Term Preservation
Once the paint is dry, sealing the sign is essential for protecting it from the elements and preserving the restoration.
- Wax: Automotive wax can provide a basic level of protection.
- Clear Coat (Top Coat): Provides superior protection against UV damage, moisture, and scratches.
- UV Inhibitor: Can be added to the clear coat to further protect the paint from fading.
- Display Stand/Mounting Hardware: To safely display the restored sign.
A Final Note
Restoring vintage gas station signs can be a challenging but incredibly rewarding experience. This list is a comprehensive guide to the tools and supplies you’re likely to need, but specific projects may require additional or specialized equipment. Always prioritize safety, take your time, and research thoroughly to ensure a successful restoration!