Neon Restoration Techniques for Vintage Gas Signs
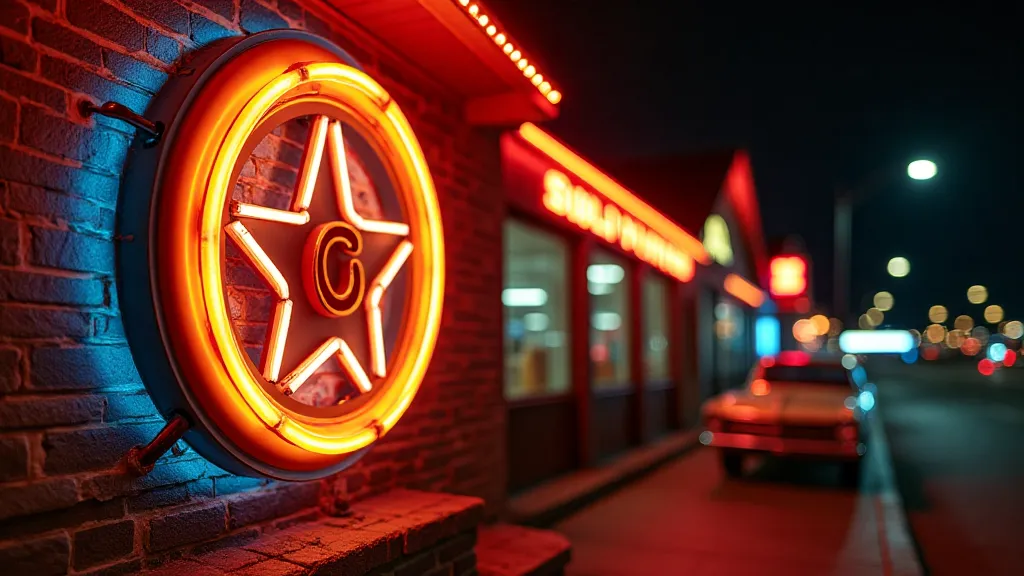
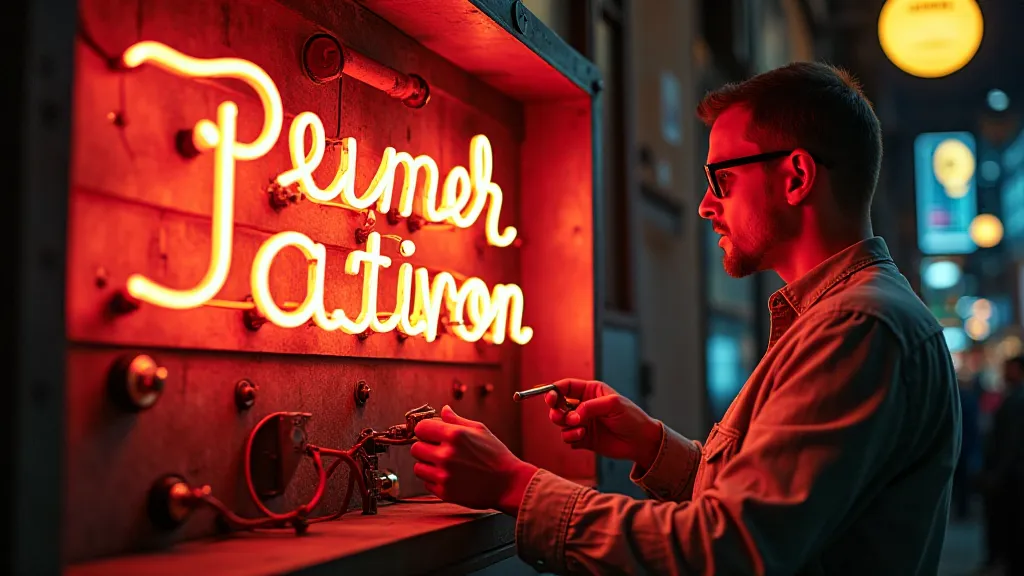
Vintage gas station signs are more than just advertising; they’re time capsules, showcasing a bygone era of automotive culture and roadside aesthetics. Many of these signs feature neon, adding a vibrant glow that captivates and draws the eye. However, decades of exposure to the elements and the simple passage of time take a toll. Neon tubes burn out, wiring deteriorates, and the once-brilliant glow fades. This article provides a step-by-step guide to restoring the neon on your vintage gas signs, equipping you with the knowledge to bring their luminous charm back to life.
Understanding Neon Sign Construction
Before diving into restoration, it’s crucial to understand how neon signs are built. Unlike incandescent bulbs, neon signs utilize a sealed glass tube filled with neon (or other noble gases) and a phosphor coating on the inside. Electricity excites the gas, causing it to emit light. The phosphor coating allows for color variation, creating a wider spectrum of visible light.
A typical neon sign system includes:
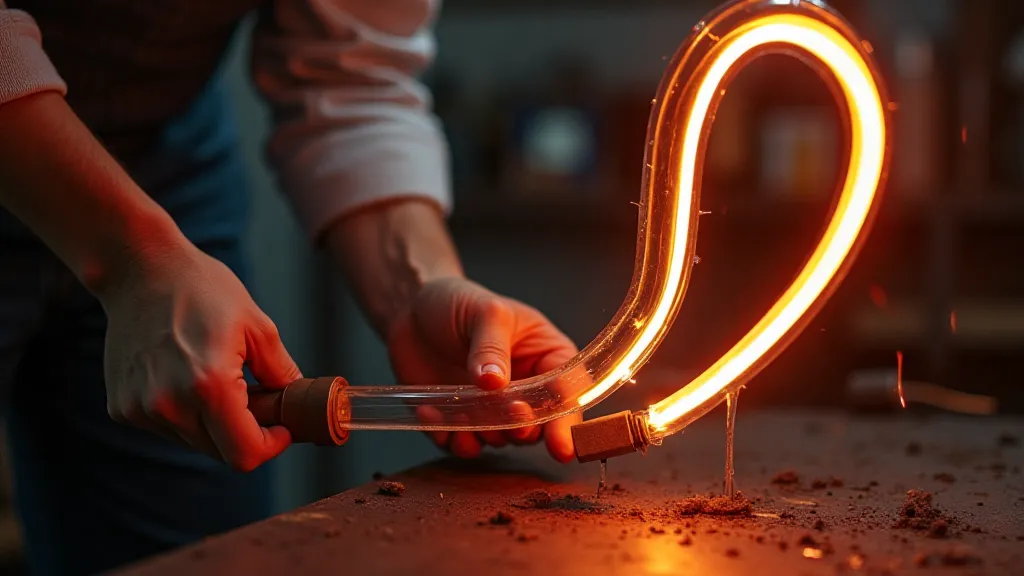
- Neon/Gas Tubes: These are the heart of the sign, often bent into intricate shapes.
- Electrodes: Located at each end of the tube, these connect to the power supply and initiate the electrical discharge.
- Wiring: Connects the electrodes to the transformer. Often brittle and damaged with age.
- Transformer (Power Supply): Steps down household voltage to the low voltage required for neon.
- Backing/Cabinet: The structural support for the sign. This may need separate restoration in addition to the neon.
Safety First! Working with electricity can be dangerous. Always disconnect the sign from the power source before commencing any work. If you are not comfortable working with electricity, it's best to consult a qualified neon sign repair professional.
Common Neon Sign Problems & Their Solutions
Let's examine the most frequent issues encountered when restoring vintage neon gas signs:
1. Burnt-Out Neon Tubes
This is the most common problem. Neon tubes have a limited lifespan, and they eventually burn out. There are two main approaches to dealing with this:
- Replacement: This is often the best option, particularly for significantly damaged tubes or those difficult to repair. Finding a neon bender who can replicate the original shape is essential. Provide the original tube as a template.
- Repair (Re-gassing): Experienced neon sign repair technicians can sometimes repair burnt-out tubes. This involves evacuating the tube, re-filling it with neon (or other gases), and re-sealing the electrodes. This is a complex procedure requiring specialized equipment and expertise.
2. Brittle and Damaged Wiring
Over time, the insulation on neon sign wiring deteriorates, becoming brittle and prone to cracking. This can lead to short circuits and prevent the sign from lighting up correctly.
Solution: The entire wiring system should be replaced. Use UL-listed, low-voltage wire specifically designed for neon signs. Pay close attention to making secure connections to the electrodes and the transformer. Solder connections are best, followed by heat-shrink tubing to insulate them.
3. Deteriorated Electrodes
Electrodes can corrode or become detached from the glass tubes. This prevents the electrical current from flowing correctly.
Solution: Replacing electrodes is often necessary. This involves carefully removing the old electrodes and welding new ones in place. This requires a high-frequency welder and specialized skills.
4. Transformer Problems
The transformer is a critical component. It can fail due to overheating, age, or electrical surges.
Solution: If the transformer is faulty, it must be replaced with a new one of the same voltage and amperage rating. Trying to repair a transformer is generally not recommended due to the complexity and potential hazards.
5. Leaks
Neon signs are sealed units. Over time, the seals can weaken, leading to gas leaks. This will cause the sign to dim and eventually stop glowing.
Solution: Locating and repairing leaks requires specialized equipment, such as a helium leak detector. This is best left to a professional neon sign repair technician.
Restoration Steps – A Phased Approach
Restoring neon gas signs is a multi-stage process. Here's a recommended approach:
- Assessment: Thoroughly inspect the sign to identify all problems. Document everything with photographs.
- Disassembly: Carefully disassemble the sign, labeling all components to ensure proper reassembly.
- Cleaning: Clean the cabinet and any other non-neon components.
- Wiring Replacement: Replace all damaged wiring.
- Electrode Repair/Replacement: Repair or replace damaged electrodes.
- Tube Repair/Replacement: Repair or replace burnt-out or damaged neon tubes.
- Leak Testing: Perform leak testing to ensure the sign is properly sealed.
- Transformer Check/Replacement: Check the transformer’s functionality and replace it if necessary.
- Reassembly: Carefully reassemble the sign, ensuring all components are properly aligned and secured.
- Testing: Test the sign to verify that all neon tubes are glowing correctly and that the wiring is functioning properly.
Important Considerations
- Originality: Strive to maintain the original appearance of the sign. Use the same colors, fonts, and materials whenever possible.
- Documentation: Keep detailed records of your restoration process, including photographs and notes.
- Professional Help: Don't hesitate to seek professional help from a qualified neon sign repair technician, especially for complex repairs like electrode welding or leak testing.
- Patience: Restoring vintage gas signs takes time and patience. Don't rush the process.
Restoring vintage gas signs is a rewarding endeavor. By following these techniques, you can breathe new life into these iconic pieces of Americana, ensuring their luminous beauty shines for generations to come. The glow of restored neon evokes a powerful sense of nostalgia and captures the spirit of a bygone era.