Repairing Cracked and Broken Vintage Gas Signs: A Step-by-Step Guide
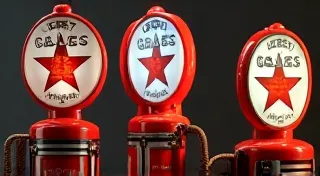
Vintage gas station signs are more than just advertising relics; they’re tangible pieces of history, testaments to a bygone era of roadside Americana. But time, weather, and neglect take their toll. Cracks, chips, and breaks are common issues affecting these treasured pieces. Fortunately, many of these damages are repairable, allowing you to preserve your antique signs and keep their charm intact. This guide will provide a step-by-step approach to repairing cracked and broken vintage gas signs, ensuring their structural integrity and visual appeal. We’ll cover various repair techniques suitable for different materials and levels of damage.
Understanding Your Sign & the Damage
Before you begin any repair work, careful assessment is crucial. Different materials require different approaches. Common sign materials include:
- Porcelain: The most prevalent material for gas signs, known for its durability but susceptible to cracking.
- Metal (Steel, Aluminum): Less common than porcelain, but found on some signs. Often thinner and more prone to rust.
- Cardboard/Paper: Rarely found in good condition, these signs are exceptionally fragile. Repair focuses on stabilization rather than full restoration.
- Neon: Repairing neon requires specialized skills and equipment – consider a professional for this type of restoration.
Identifying the Type of Damage:
- Cracks: Can be hairline (surface level) or deep. Deep cracks compromise structural integrity.
- Chips: Result in material loss, leaving exposed edges.
- Breaks: Complete separation of the sign into multiple pieces.
- Rust/Corrosion: Common on metal signs and can weaken the material.
- Paint Loss: Although not structural damage, paint loss detracts from the sign’s appearance.
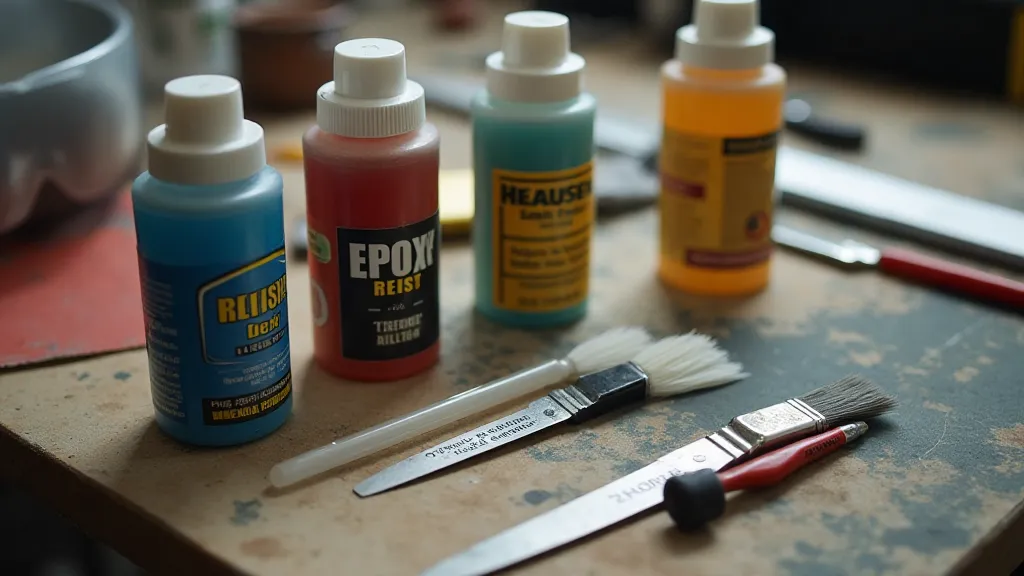
Gathering Your Supplies
Having the right tools and materials is essential for a successful repair. Here’s a checklist:
- Cleaning Supplies: Mild soap, water, degreaser, soft cloths.
- Epoxy Resin: Specifically formulated for porcelain or metal (depending on your sign’s material). Choose a clear, slow-curing epoxy.
- Filler (Porcelain/Metal): Matching epoxy putty or metal filler, to fill chips and voids.
- Acetone or Denatured Alcohol: For cleaning surfaces before epoxy application.
- Razor Blades or Scrapers: For removing loose material and excess filler.
- Sandpaper (Various Grits): From coarse (100-grit) to fine (400-grit or higher) for smoothing repaired areas.
- Primer: Rust-inhibiting primer for metal signs.
- Enamel or Acrylic Paint: Matching the original sign’s colors.
- Safety Glasses and Gloves: Protect yourself from chemicals and sharp edges.
- Clamps/Weights: To hold pieces together while epoxy cures.
Step-by-Step Repair Process
- Cleaning: Thoroughly clean the sign with mild soap and water to remove dirt, grime, and loose paint. A degreaser may be necessary for stubborn grease. Rinse thoroughly and allow to dry completely.
- Stabilizing Loose Pieces (If Applicable): For signs with broken pieces, carefully align the pieces and secure them with clamps or weights. Apply a thin layer of epoxy resin to the edges and allow to cure completely. This creates a temporary bond while the main repair takes place.
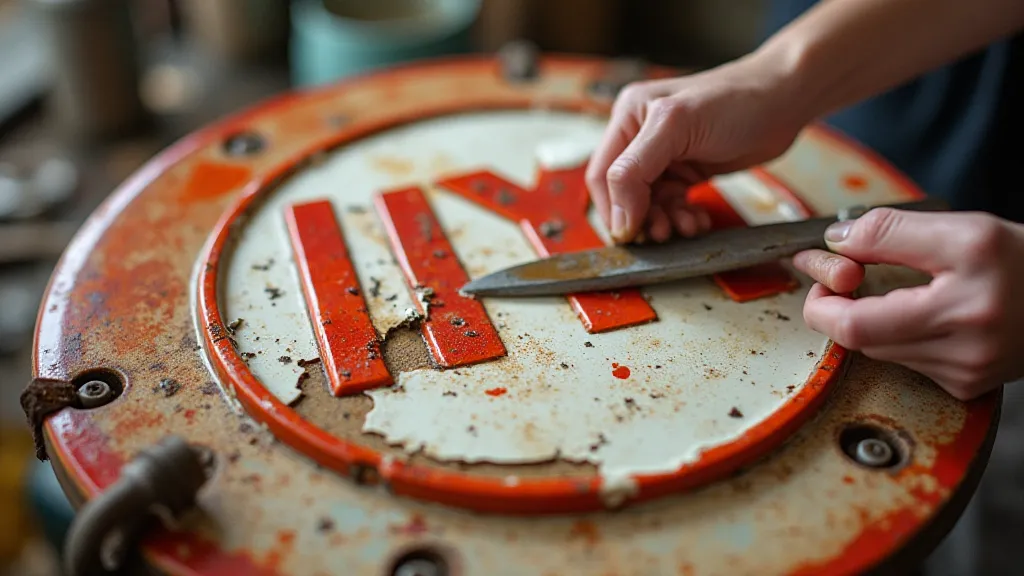
- Filling Chips and Voids: Mix the epoxy filler according to the manufacturer’s instructions. Apply the filler to chips and voids, slightly overfilling them to allow for sanding. Use a razor blade or scraper to remove excess filler, creating a smooth, even surface.
- Deep Crack Repair: For deeper cracks, inject epoxy resin directly into the crack using a syringe or small applicator. Work the epoxy in to ensure complete penetration. Clean up any excess epoxy from the surface.
- Sanding: Once the epoxy is fully cured, begin sanding the repaired areas. Start with a coarser grit (100-220 grit) to remove excess filler and smooth the surface. Gradually move to finer grits (320-400 grit or higher) to refine the finish. Wet sanding (using water) can help prevent clogging of the sandpaper.
- Priming (Metal Signs Only): Apply a rust-inhibiting primer to the repaired areas of metal signs. This will help prevent further corrosion. Follow the manufacturer's instructions for application and drying time.
- Painting (If Necessary): If the original paint has been damaged or lost, carefully match the original colors and repaint the affected areas. Use multiple thin coats rather than one thick coat to avoid runs and drips.
- Final Cleanup: After the paint has completely dried, carefully inspect the repaired areas and remove any remaining imperfections.
Special Considerations for Different Materials
- Porcelain Signs: Porcelain is relatively brittle and can be difficult to repair perfectly. Focus on structural integrity rather than perfect cosmetic restoration.
- Metal Signs: Rust is a major concern. Thoroughly remove rust before applying any repair materials. Consider using a rust converter to neutralize existing rust.
- Cardboard/Paper Signs: These signs are extremely fragile. Focus on stabilization using archival-quality adhesives and backing materials. Consider professional conservation for valuable specimens.
Tips for a Successful Restoration
- Patience is Key: Restoration takes time and care. Don’t rush the process.
- Test in an Inconspicuous Area: Before applying any repair materials to the entire sign, test them in a small, hidden area to ensure compatibility.
- Follow Manufacturer’s Instructions: Carefully read and follow the manufacturer’s instructions for all repair materials.
- Document Your Work: Take before-and-after photos to document your progress.
- Consider Professional Help: For valuable or severely damaged signs, consider seeking professional restoration services.